Laravel JetStream is a great addition for Laravel and it is based on livewire and tailwind css. And here we will learn how to use custom modal window provided by this plug in.
First thing first, let's install jetStream:
                    // install jetstream
composer require laravel/jetstream

// add livewire for jetstream
php artisan jetstream:install livewire

// add frontend part
npm install
npm run dev
php artisan migrate
Cool, now we have it installed, and if you take a look in your rousurces/views/vendor/jetstream/components you will find a bunch of predefined components including dialog-modal which will be using.
So let's start.
Create new blade component which will be wrapper for your modal window. By using it this way, you can include this blade component in any other laravel blade component - in case you would need same modal across different pages.
We will put this modal component in resources/views/components/modal/test-modal.blade.php and it will contain just one line - include livewire modal component:
<livewire:custom-modal :wire:key="'custom-modal-'.time()">
Now, let's create now my-custom-modal livewire component:
php artisan livewire:make CustomModal
This will create two files, blade component and livewire component.
Place this code in your blade component:
<div>
<div wire:click="showModal" wire:loading.attr="disabled" class="p-4 text-gray-900 cursor-pointer">
Open modal
</div>
<x-jet-dialog-modal wire:model="showingModal" >
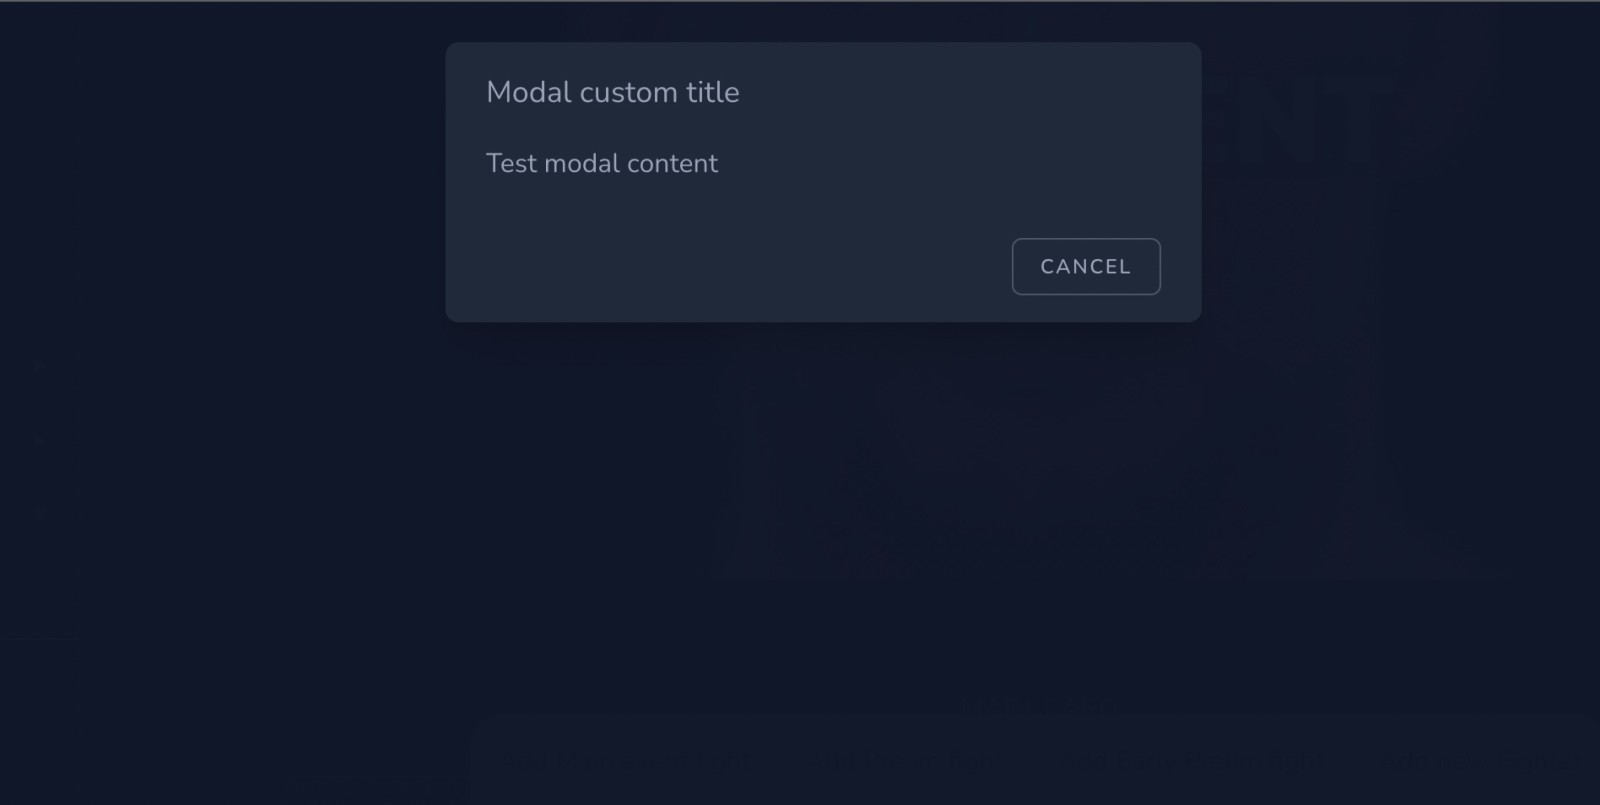
<x-slot name="title">
Modal custom title
</x-slot>
<x-slot name="content">
<p>Test modal content</p>
</x-slot>
<x-slot name="footer">
</x-slot>
</x-jet-dialog-modal>
</div>
As you can see we are including dialog modal predefined by JetStream by adding line:
<x-jet-dialog-modal wire:model="showingModal" >
and we will open it by clicking on the button:
                    <div wire:click="showModal" wire:loading.attr="disabled" class="p-4 text-gray-900 cursor-pointer">
        Open modal
</div>
JetStream modal has predefined sections where you can add your content:
- Title
- Content
- Footer
In these sections you can put any content... in our case we will put close button in footer section and add functionality to close the modal when button is clicked:
                    <x-slot name="footer">
  <x-jet-secondary-button wire:click="$set('showingModal', false)" wire:loading.attr="disabled">
     {{ __('Cancel')  }}
  </x-jet-secondary-button>
</x-slot>
And not to forgot, this is how our CustomModal livewire class looks like:
                    namespace App\Http\Livewire;

use Livewire\Component;

class CustomModal extends Component
{
    public $showingModal = false;

    public $listeners = [
        'hideMe' => 'hideModal'
    ];

    public function render()
    {
        return view('livewire.custom-modal');
    }

    public function showModal(){
        $this->showingModal = true;
    }

    public function hideModal(){
        $this->showingModal = false;
    }
}
So as you can see, by clicking on cancel button we are just setting $showingModal to false same as we did by clicking on show modal.
And that it is it!
By default, JetStream modal window is aligned to the top, if you want to have it on the center of the screen, we would need to modify modal.blade.php file in resources/views/vendor/jetstream/componets/modal.blade.php and add {{$attributes['class']}} on line 47 in class attribute
class="fixed inset-0 z-50 px-4 py-6 overflow-y-auto jetstream-modal sm:px-0 {{$attributes['class']}}"
And now we can actually pass the tailwind class to align the modal when calling the x-jet-dialog-modal
<x-jet-dialog-modal wire:model="showingNewFighterModal" maxWidth="md" class="flex items-center">

Or we can align it on the bottom of the screen, by changing the class name:
<x-jet-dialog-modal wire:model="showingNewFighterModal" maxWidth="md" class="flex items-end">

We have additional post about different ways how to manage data and close modal window even if it is used as a livewire child component:
